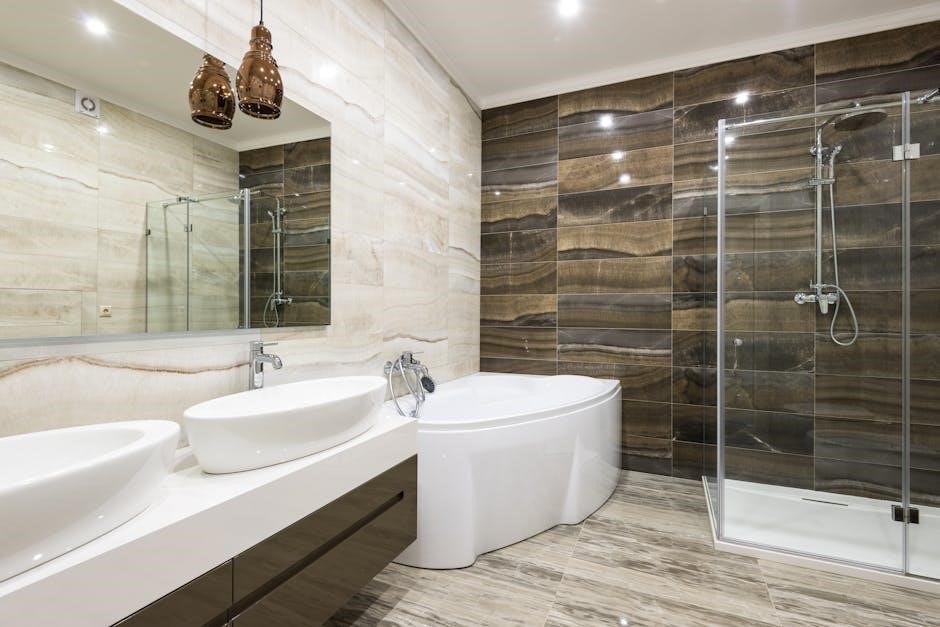
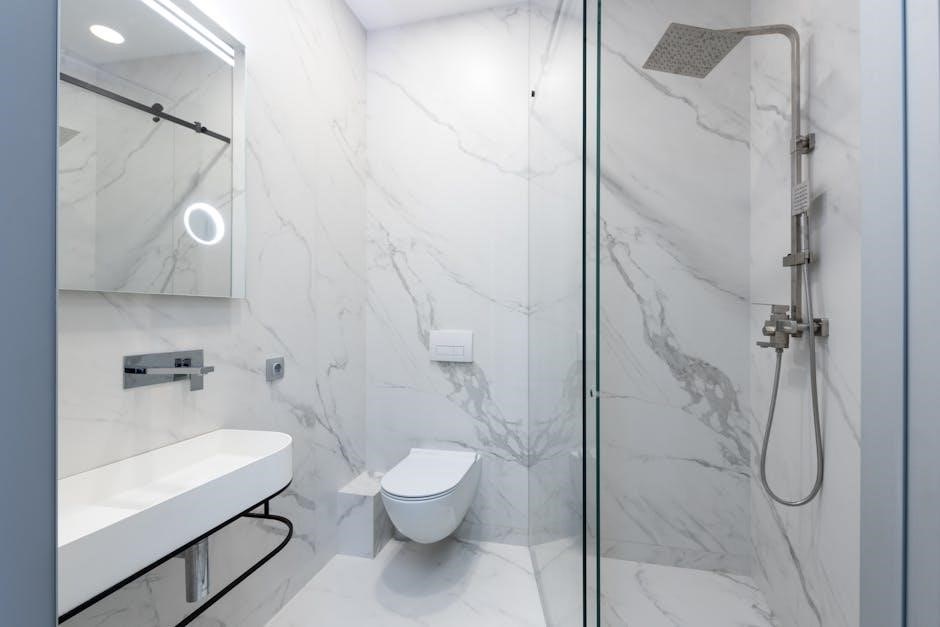
Maax Shower Door Installation: A Comprehensive Guide
Embark on a seamless journey to transform your bathroom with our comprehensive guide to Maax shower door installation. This resource provides clear, concise instructions, ensuring a professional finish. We will provide insights into choosing doors and measuring spaces.

Essential Tools and Materials
Before commencing your Maax shower door installation, gathering the essential tools and materials is paramount. This preparation ensures a smooth and efficient process, minimizing potential setbacks. Begin with a high-quality level, essential for accurate alignment and preventing water leakage. A measuring tape is crucial for precise measurements of the shower enclosure, door, and panel dimensions, as accurate measurements are key to success.
Next, acquire a drill with various drill bits suitable for tile, drywall, and studs, accommodating different surfaces. A silicone sealant, specifically designed for bathroom applications, will create a watertight seal, preventing moisture damage. Masking tape will help protect surfaces while applying sealant, ensuring clean lines and preventing residue.
Screwdrivers, both Phillips head and flathead, will be needed for securing screws and hardware. A utility knife is useful for trimming excess sealant and removing packaging. Safety glasses and gloves provide essential protection during the installation process, safeguarding against potential hazards. Finally, have a clean cloth readily available for wiping surfaces and cleaning up any spills. With these tools and materials at hand, you’ll be well-prepared for a successful Maax shower door installation.
Pre-Installation Checklist
Prior to initiating your Maax shower door installation, meticulously review this pre-installation checklist to ensure a seamless and successful project. First, verify that all essential tools and materials are readily available, preventing interruptions during the process. Confirm that the shower enclosure dimensions precisely match the specifications of the Maax shower door model, as discrepancies can lead to installation challenges. Inspect the shower threshold for levelness, addressing any unevenness to guarantee proper door alignment and water tightness.
Examine the walls surrounding the shower enclosure, ensuring they are plumb and structurally sound, as this will impact the stability of the installed door. Carefully unpack all components of the Maax shower door, comparing them against the parts list to confirm completeness and identify any potential damage. Read the Maax shower door installation instructions thoroughly, familiarizing yourself with each step and identifying any specific requirements or warnings.
Ensure that the water supply to the shower is completely shut off, preventing accidental leaks during the installation process. Clear the work area of any obstructions, providing ample space to maneuver and prevent accidents. Finally, double-check that you have the correct type of drill bits for the surfaces you will be drilling into, avoiding damage to tiles or walls. With this comprehensive checklist completed, you can confidently proceed with the Maax shower door installation.
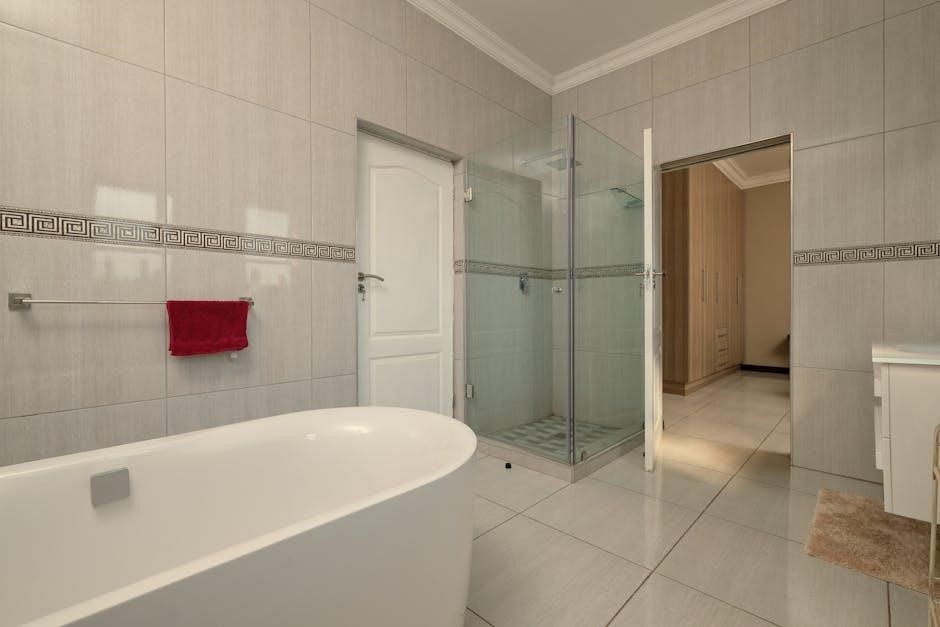
Measuring the Shower Enclosure
Accurate measurement of your shower enclosure is crucial for a successful Maax shower door installation. Begin by measuring the width of the shower opening at the top, middle, and bottom, recording each measurement separately; Use the smallest of these three measurements to ensure a proper fit. Next, measure the height of the shower opening from the threshold to the top of the shower surround, taking measurements at both the left and right sides. Again, record both measurements and use the smaller value.
If your shower enclosure has a curb, measure the depth of the curb to ensure it meets the minimum requirements specified in the Maax shower door installation instructions. For corner shower installations, carefully measure the distance from the corner to the edge of the shower walls on both sides, ensuring they are equal and within the specified range for the door model. Double-check all measurements, paying close attention to detail, as even minor discrepancies can affect the installation and performance of the shower door.
Compare your measurements to the specifications provided in the Maax shower door installation instructions to confirm compatibility. If your shower enclosure falls outside the recommended dimensions, you may need to consider a different door model or make necessary adjustments to the enclosure. Accurate measurements are the foundation for a smooth and watertight Maax shower door installation.
Verifying Door and Panel Fit
Before proceeding with the installation, it’s essential to verify the fit of the Maax shower door and panel within the measured shower enclosure. Carefully unpack all components and lay them out in a safe area, referring to the parts list in the Maax shower door installation instructions.
Hold the door and panel in place within the shower opening, ensuring they align with the threshold and walls. Check for any gaps or overlaps that may indicate an improper fit. Pay close attention to the vertical alignment of the door and panel, ensuring they are plumb and level. Use shims if necessary to achieve a flush fit against the walls.
For sliding shower doors, verify that the door slides smoothly along the track without any obstructions. For pivot shower doors, check the swing of the door, ensuring it clears any obstacles and opens fully without binding. If the door or panel does not fit properly, double-check your measurements and compare them to the specifications in the Maax shower door installation instructions. Contact Maax customer support for assistance if you encounter any discrepancies or fitting issues.
Confirming the door and panel fit before installation will save time and prevent potential problems later on.
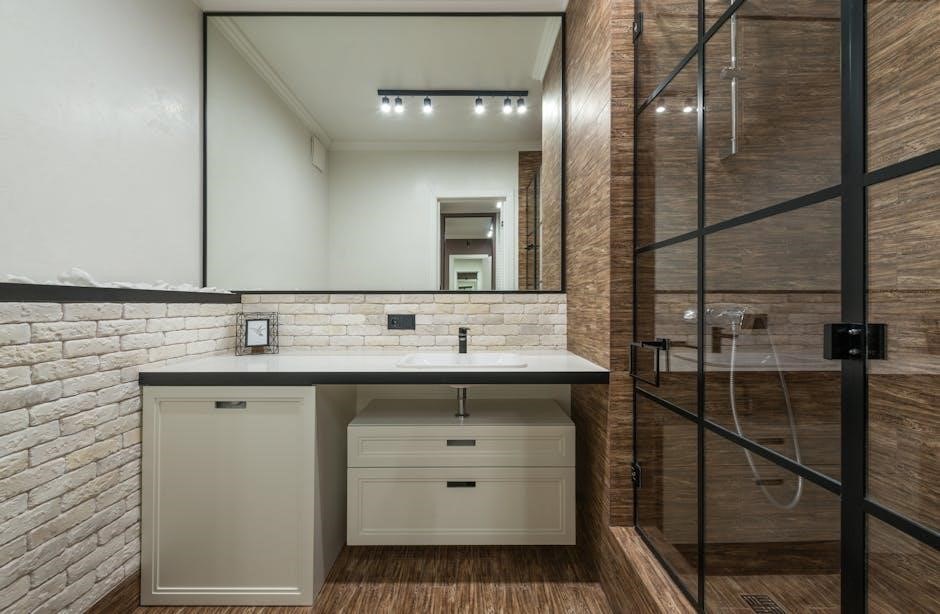
Identifying Shower Door Components
Before beginning the Maax shower door installation, it’s crucial to familiarize yourself with all the components included in the package. Refer to the Maax shower door installation instructions PDF to cross-reference each part with its corresponding name and diagram.
Typically, you’ll find the shower door itself, which may be a sliding, pivot, or folding type. There’s usually a fixed panel, depending on the model, that creates a stationary barrier. You’ll also encounter various hardware components such as hinges, handles, knobs, and door seals, which ensure a watertight closure.
The door track or guide is essential for sliding doors, enabling smooth movement along the threshold. Wall jambs or profiles secure the door and panel to the surrounding walls, while the threshold provides a stable base and prevents water leakage. Don’t forget the screws, anchors, and other fasteners necessary for assembly.
Silicone sealant plays a vital role in creating a waterproof seal around the perimeter of the enclosure. Identifying each component beforehand will streamline the installation process and minimize errors.
Step-by-Step Installation Process
Follow our precise, step-by-step guide for installing your Maax shower door. From threshold preparation to door alignment, we will guide you through each stage of the process, ensuring a secure and watertight enclosure.
Preparing the Threshold
Prior to commencing the Maax shower door installation, meticulous preparation of the threshold is paramount. Begin by thoroughly cleaning the threshold surface, ensuring it is free from any debris, dirt, or existing sealant residue. Use a scraper or solvent to remove stubborn remnants, guaranteeing a pristine surface for optimal adhesion.
Next, carefully inspect the threshold for any imperfections, such as chips, cracks, or unevenness. Address any irregularities by patching or leveling the surface, ensuring a smooth and consistent plane for the shower door components. Accurate leveling is crucial for proper door alignment and water tightness.
Furthermore, measure the threshold dimensions, confirming they align with the shower door specifications. Discrepancies may necessitate adjustments or modifications to ensure a proper fit. Mark the desired location for the door guide and threshold cap, utilizing a level to maintain accuracy.
Finally, apply masking tape along the edges of the threshold, creating a clean and defined perimeter for sealant application. This will prevent excess sealant from adhering to surrounding surfaces, resulting in a professional and aesthetically pleasing finish. Ensure proper ventilation during this process.
Positioning the Door Guide and Threshold Cap
Accurate positioning of the door guide and threshold cap is crucial for a successful Maax shower door installation. Begin by carefully aligning the door guide at the base of the intended fixed panel location, ensuring it sits flush against the threshold surface. Use a level to verify vertical alignment, correcting any discrepancies for smooth door operation.
Next, position the threshold cap along the opposite edge of the threshold, adjacent to the shower wall. Ensure the cap aligns seamlessly with the wall, creating a watertight seal. Use masking tape to temporarily secure both the door guide and threshold cap in place, allowing for adjustments before permanent installation.
Double-check the alignment of both components, ensuring they are parallel and equidistant from the shower walls. Verify that the door guide and threshold cap do not interfere with any shower accessories or fixtures. Fine-tune their positions as needed to achieve optimal alignment and functionality.
Once satisfied with the positioning, carefully mark the screw locations for both the door guide and threshold cap. These markings will serve as guides for drilling pilot holes, ensuring secure and accurate installation. Remember to consult the Maax shower door installation instructions PDF for specific measurements.
Installing the Fixed Panel
Installing the fixed panel is a critical step in the Maax shower door installation process. First, carefully lift the fixed panel and position it within the shower enclosure, aligning it with the pre-installed door guide. Ensure the panel sits securely and evenly on the threshold.
Next, check the panel’s plumbness using a level, making adjustments as needed to achieve a perfectly vertical position. Use shims if necessary to correct any unevenness or gaps between the panel and the surrounding walls. Once the panel is plumb, secure it temporarily with clamps or masking tape.
With the panel temporarily secured, pre-drill pilot holes through the mounting brackets and into the wall studs. Use the appropriate drill bit size as specified in the Maax shower door installation instructions PDF. After drilling the pilot holes, apply a bead of silicone sealant to the back of the mounting brackets.
Finally, securely fasten the fixed panel to the wall using screws. Tighten the screws gradually, ensuring the panel remains plumb and aligned throughout the process. Remove any excess silicone sealant and allow it to cure completely before proceeding with the next steps.
Hinge Side Considerations
When addressing hinge side considerations during Maax shower door installation, meticulous attention is crucial for optimal functionality and longevity. Begin by identifying the correct hinge placement according to the Maax shower door installation instructions PDF. Ensure the wall studs are properly located and structurally sound to support the door’s weight.
Prior to installation, verify that the hinge side wall is plumb and square, as any deviations can affect the door’s alignment and smooth operation. Use shims to correct minor imperfections. Pre-drilling pilot holes for the hinge screws is essential to prevent splitting the wall studs.
Apply a small amount of silicone sealant to the back of the hinge plates before attaching them to the wall. This helps create a watertight seal and prevents moisture from seeping behind the hinges. Secure the hinges to the wall studs using appropriate screws, ensuring they are tightly fastened and aligned properly.
Double-check the hinge alignment and spacing before hanging the door. The door should swing freely and close smoothly without any binding or resistance. Make any necessary adjustments to the hinge positions to achieve perfect alignment and operation.
Door Alignment and Adjustment
Achieving perfect door alignment and adjustment is paramount for a watertight seal and effortless operation of your Maax shower door. Begin by carefully inspecting the door’s alignment with the fixed panel and threshold. Use a level to ensure the door is plumb and square, making note of any discrepancies.
Loosen the hinge screws slightly to allow for minor adjustments. Gently manipulate the door until it is perfectly aligned, ensuring equal spacing between the door and the fixed panel. Tighten the hinge screws gradually, checking the alignment after each adjustment.
If the door is binding or rubbing against the frame, use shims to create additional clearance. Insert shims behind the hinges or the frame as needed, and re-tighten the screws. Test the door’s operation by opening and closing it slowly, paying attention to any points of resistance.
Adjust the door sweep or bottom seal to ensure a tight seal against the threshold. Trim the seal if necessary to prevent it from dragging or catching. Once the door is properly aligned and adjusted, apply a bead of silicone sealant along the exterior edges of the frame to create a watertight barrier.
Post-Installation Procedures
Following installation, meticulous attention to detail ensures longevity and optimal performance. Sealing, leak checks, and warranty registration are crucial. These procedures safeguard your investment and guarantee lasting satisfaction with your shower door.
Applying Silicone Sealant
After the Maax shower door is installed and properly aligned, applying silicone sealant is a critical step to ensure a watertight enclosure. This prevents water damage and promotes longevity. Select a high-quality, mildew-resistant silicone sealant specifically designed for bathroom applications. Clear silicone is often preferred for its unobtrusive appearance, blending seamlessly with various shower finishes.
Before applying the sealant, thoroughly clean all surfaces where the sealant will be applied. Remove any dirt, debris, or existing sealant residue using a suitable cleaner and a clean cloth. Ensure the surfaces are completely dry before proceeding.
Apply a consistent bead of silicone sealant along all joints and seams where the shower door frame meets the shower walls and threshold. Use a caulking gun for precise application, maintaining a steady hand to create a uniform bead.
Once the sealant is applied, use a wet finger or a sealant smoothing tool to create a smooth, concave finish. This improves the appearance and ensures a better seal. Remove any excess sealant immediately with a damp cloth. Allow the sealant to cure completely according to the manufacturer’s instructions before using the shower.
Ensuring Water Tightness
After installing a Maax shower door, ensuring water tightness is paramount to prevent leaks and potential water damage. This involves a meticulous inspection and application of sealant. Begin by carefully examining all joints and seams around the door frame, fixed panels, and threshold. Look for any gaps or inconsistencies in the silicone sealant.
Pay close attention to the corners and areas where different components meet. These are common points for water to seep through. If any gaps are found, reapply silicone sealant to these areas, ensuring a smooth and complete seal.
After the sealant has fully cured, conduct a water test. Carefully spray water along the door frame and panels, observing for any leaks inside the shower enclosure. If leaks are detected, mark the areas and allow them to dry thoroughly. Reapply sealant to these specific spots, ensuring a generous overlap with the existing sealant.
Double-check the door sweep or seal at the bottom of the door. Ensure it makes firm contact with the threshold, preventing water from escaping during use. Adjust the sweep if necessary to achieve a tight seal. Regular maintenance and inspection will help maintain water tightness over time.

Warranty Information (MAAX Bath Inc.)
MAAX Bath Inc. provides express limited warranty coverage for its shower doors, reflecting their commitment to quality and customer satisfaction. This warranty safeguards against defects in materials and workmanship, offering peace of mind for your investment.
The specific terms and duration of the warranty can vary depending on the shower door model and the date of purchase. It’s crucial to review the warranty documentation included with your product or available on the MAAX Bath Inc. website for precise details.
Typically, the warranty covers issues such as glass defects, hardware malfunctions, or problems with the frame or sealing components. To make a warranty claim, you’ll generally need to provide proof of purchase, such as a receipt or invoice, and a detailed description of the issue.
The warranty may not cover damages resulting from improper installation, misuse, abuse, or normal wear and tear. It’s essential to follow the installation instructions carefully and maintain the shower door according to the manufacturer’s recommendations.
For any warranty-related inquiries or to initiate a claim, contact MAAX Bath Inc.’s customer service department directly. They can provide guidance on the process and assist with resolving any issues you may encounter.

Additional Resources
Explore additional resources for MAAX shower door installation, including detailed guides, videos, and FAQs. Find support for troubleshooting and maintenance, ensuring a successful and lasting installation experience.
Troubleshooting Common Issues
Encountering issues during your Maax shower door installation? Don’t worry, this section addresses common problems and provides effective solutions. From door alignment discrepancies to water leakage concerns, we’ve got you covered.
First, check that the door and panel fit within the shower enclosure, measure the height, width and depth of the shower threshold. Ensure the door moves smoothly along its track. If you experience sticking, inspect the track for debris or misalignment.
For water leakage, verify the silicone sealant application is complete and consistent along all joints. Confirm that the door sweep makes full contact with the threshold;
If the door is not hanging straight, adjust the hinges. Refer to the manufacturer’s specifications for hinge adjustment procedures.
Remember to review the installation guide.
Consult our comprehensive troubleshooting guide for specific solutions to these and other potential issues.